The Freezing Method: Protecting Your Secondhand Yarn from Pests

Categories:

Secondhand yarn can sometimes bring along unwelcome guests – pests. Before incorporating these treasures into your stash, it’s crucial to ensure they are clean and pest-free. The freezing method is a simple, effective technique to protect your secondhand yarn.

Step-by-Step Guide to the Freezing Method

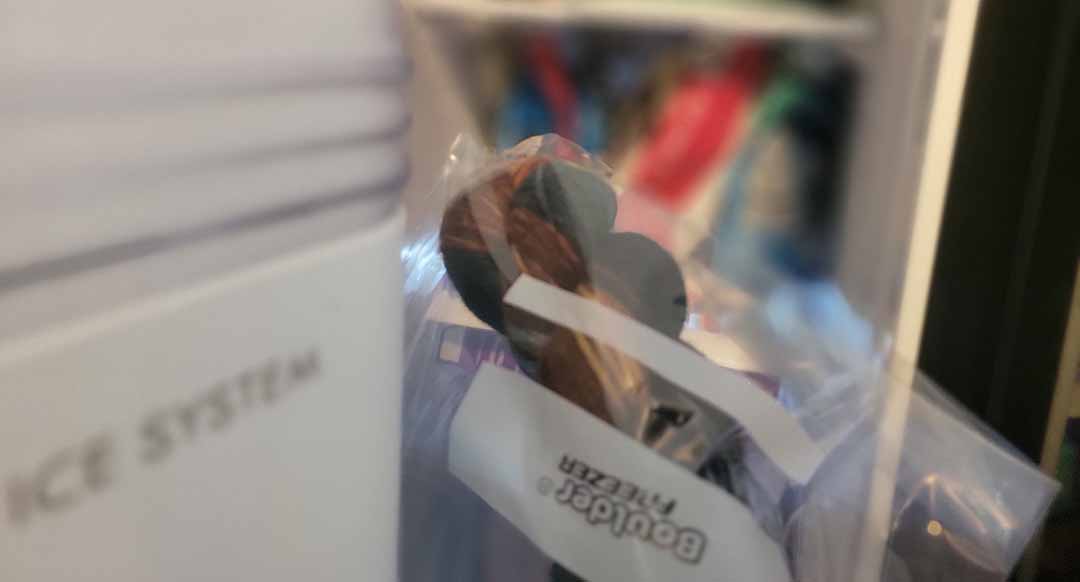
  1. Inspect and Bag: Carefully inspect each skein for signs of pests. Place the yarn in airtight bags, squeezing out as much air as possible. Vaccuum bags can be your friend here, but be sure not to vaccuum the bag too tightly.
  2. First Freeze: Place the bagged yarn in your freezer for at least 24 hours, but our recommendation is to keep it in the freezer for at least one full week (7 days). This initial freeze kills any active pests.
  3. Thaw: Remove the yarn and let it thaw at room temperature for a day. This step lures any remaining eggs to hatch. Then, it’s time to take those bugs out as well.
  4. Second Freeze: Freeze the yarn again for another full week (7 days) to kill the newly hatched pests.
  5. Final Thaw and Store: After the second freeze, let your yarn thaw before storing it in your stash. Once thawed, inspect the yarn thoroughly. You may find some corpses of your bug friends, and you most likely don’t want to keep those around!

This will kill pests at all stages of the bug lifecycle.

Do Not Skip the Second Freeze!

We can’t stress this enough. It’s tempting to pull your yarn out after the first freeze and call it done, especially when you’re excited to start a project. But eggs can survive that first round, and the thaw period is what triggers them to hatch. The second freeze is what finishes the job. The full two-week process is worth the wait — your future self (and your stash) will thank you.

For good measure, consider a safe storage method to prevent the rare occurrence of The Bug Who Lived!

Why the Freezing Method Works

The freezing method is effective because it interrupts the life cycle of pests without using chemicals that could harm the yarn or the environment. It’s a safe, eco-friendly way to protect your precious finds.

The freezing method is a simple yet powerful tool in maintaining the integrity of your secondhand yarn. By following these steps, you ensure your yarn remains in perfect condition for your next project. Please note, for legal reasons, we can’t be held responsible if this doesn’t destroy every single pest in your yarn! You may want to consider bringing any pests that survive this to scientists for further inspection though, as they may be super bugs!

5 responses to “The Freezing Method: Protecting Your Secondhand Yarn from Pests”

  1. Urszula Avatar
    Urszula

    Hi! This is so helpful, thank you. How do I get rid of any bug leftovers (ie. corpses) after the second round of freezing?

    1. Tina Avatar

      At Yarn Saver, we do not use yarn with visible pest presence, but for personal use, the best thing to do first is to inspect the yarn and use tweezers to remove any visible remains. Typically, then you can use a winder and swift to wind it into a cake. I like to wind the cake two or three times to ensure everything is out. I don’t wind fast when I do this, as when there is presence of pests, there is a potential for yarn fraying or damage, so going slow, checking the fiber as you go, and if there is a break, split the cakes up.

  2. Julie Avatar
    Julie

    Thanks for this information, Tina. During the first thaw, should you keep the yarn sealed inside the plastic bag? I’ve also read about keeping them in the bag to avoid condensation from the thaw wetting the yarn. What is your strategy to avoid this? Thank you for the help.

    1. Tina Avatar

      Hey Julie! At Yarn Saver, we bag each item “type” separately in sealed zip lock type freezer safe bags, and then put them inside large vacuum sealed airtight, watertight bags while they go through the freezers. We do not open these bags between the first and second freeze to protect against the yarn getting wet, like you mentioned. We also do not open them in between the first and second freeze because we do not want to accidentally release any potential eggs that may be present in the fiber. That’s the main purpose for that second freeze – the first freeze kills anything currently hatched, the thaw allows eggs to hatch and the second freeze kills those hatched eggs!

      Rarely, despite this process, something survives. The best thing to do is to always keep fibers separated from each other and sealed. For example, if I have six skeins of wool and four skeins of cashmere/wool blend, the six skeins can all reside in the same bag (or bags), and the four skeins would be separated into their own bag(s). This way, when you go to use the yarn, if the rare case of something surviving gets through, you are only dealing with a small bag that you can easily throw out, rather than a full on infestation of your entire collection!

      1. Julie Avatar
        Julie

        Perfect. Thanks!

Leave a Reply

Your email address will not be published. Required fields are marked *